Uploading and Linking Assets in Asset Management
Introduction
Uploading and linking assets is an important part of the overall workflow to utilizing the 3D product configurator. The process links 3D asset production into the configuration definition and linking the 3D assets into the appropriate configuration on the 3D product configurator side.
General advice for asset management
An asset needs to be uploaded only once to the product library for it to be usable everywhere in the system. Therefore it is highly recommended that asset management is planned and managed well. Uploading assets through drag-and-drop is convenient but can easily result in duplication of data in the system which will make future edits and changes more laboursome.
The most useful way to work is to make a baseline set of configurations that are shared to the degree possible with all the items that utilize the item to reduce the need to edit or update items in many places.
Asset uploading
Note
Currently the supported file types are GLTF and GLB. The GLB files can be dragged and dropped as they are. The GLTF files together with their depending files (referred inside the gltf), they must be all zipped. And then you can drag and drop the zip file itself.
You can upload assets in two different ways to the system.
- import via "Upload new Asset" options:
 located in the top "Product Menubar"
- By selecting the type and upload:
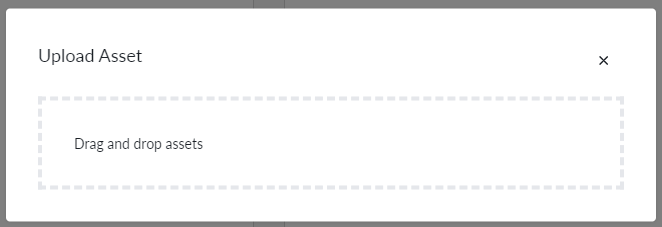
- By drag and drop:
- By selecting the type and upload:
Note
Due to security reasons, the drag and drop feature cannot determine the type of file you are dragging before you drop it and thus you can try to import incorrect file types into properties that do not support the filetype
Note
You can drag and drop multiple zip files and multiple glb files too.
- import via drag and drop of the property where asset can be linked
Both ways have pro's and con's, but for most part, the drag-and-drop of assets is more convenient as the linking of assets happens automatically.
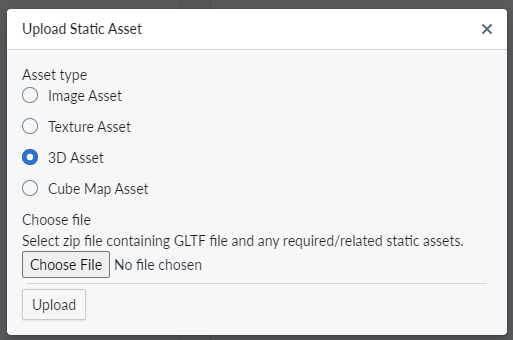
Workflow for "upload new asset"
- click "upload new asset" button on product menubar
- select the asset type you are uploading by clicking on appropriate radio button
- click "selaa..." button to open a dialogue to selecting the file from your computer
- click on upload button
Workflow for drag-and-drop
Note
Uploading the same asset many times through drag-and-drop is possible but results in many copies of the same asset in the asset management store. This will make it more difficult to update assets to newer versions.
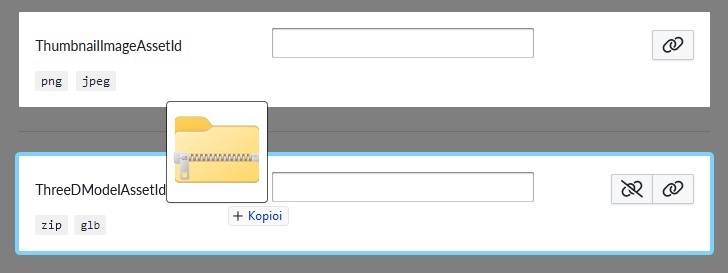
Click and drag the file from your computer into the browser window and once in the browser the application will highlight the properties where you can drop items.
Note
Due to security reasons, the drag and drop feature cannot determine the type of file you are dragging before you drop it and thus you can try to import incorrect file types into properties that do not support the filetype
Drag and drop automatically links assets if the asset upload succeeds and the asset type is appropriate to the field where asset was dropped.
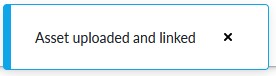
If the upload and linking of the asset is succesful, you will see success notification at the bottom right of the browser window.
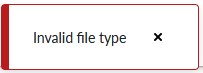
If the upload and linking of the asset has some error, you will see an error notification indicating the error type at the bottom right of the browser window. This error is an example for dragging and dropping a file of incorrect type.
Asset linking
Once asset is uploaded, it can be linked to relevant configuration.
Below picture depicts property that has a link asset capability and highlights the icon for activating linking of asset

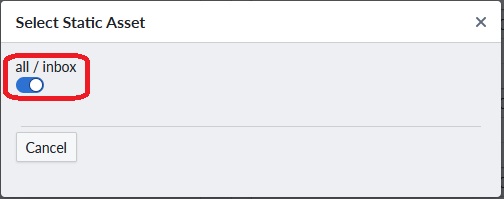
Clicking on the link an asset button opens asset linking dialogue which could look like below

If the listing is empty or does not contain the asset you want to link, change the toggle to all
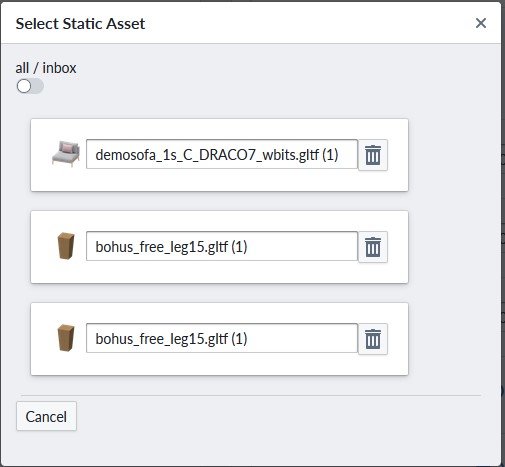
You will get a list of all assets uploaded into the product library and be able to link the asset you want. The dialogue is context sensitive to be aware of the primary asset type, so you will only be able to link 3D mesh assets to 3D models and texture files to materials
Note
The context awareness is limited to asset type in terms of file name extension. Due to this, be careful on assigning materials and texture assets into the correct properties.
Asset linking metadata
Each linking of asset is tracked by the system and in the linking asset dialogue, you will see a number in parenthesis for assets that are linked and the counter will indicate the number of links the asset has.
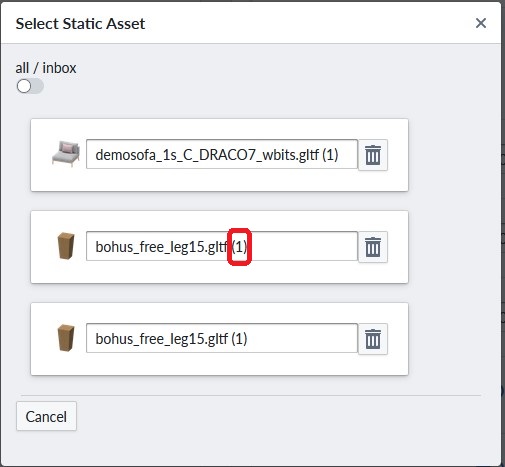
When the asset is first uploaded using the "Upload new Asset" the counter will not exist and the counter is created when the asset is first linked to a configuration property.
Asset unlinking
You can unlink the current asset when the unlink asset button is present by clicking it. This will remove the link, but not delete the asset from asset store.
Asset change
You can change the asset link by following the asset linking workflow and replace the existing linking with new linking. You can also first unlink the asset and then link the new asset, but this is not absolutely necessary as workflow.
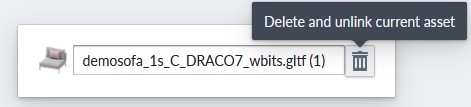
Asset deletion
You can delete assets through opening the asset linking dialogue and viewing all assets and clicking on the "delete and unlink current asset" button.
This will delete the asset and unlink the asset from all items and properties where the asset has been linked to.